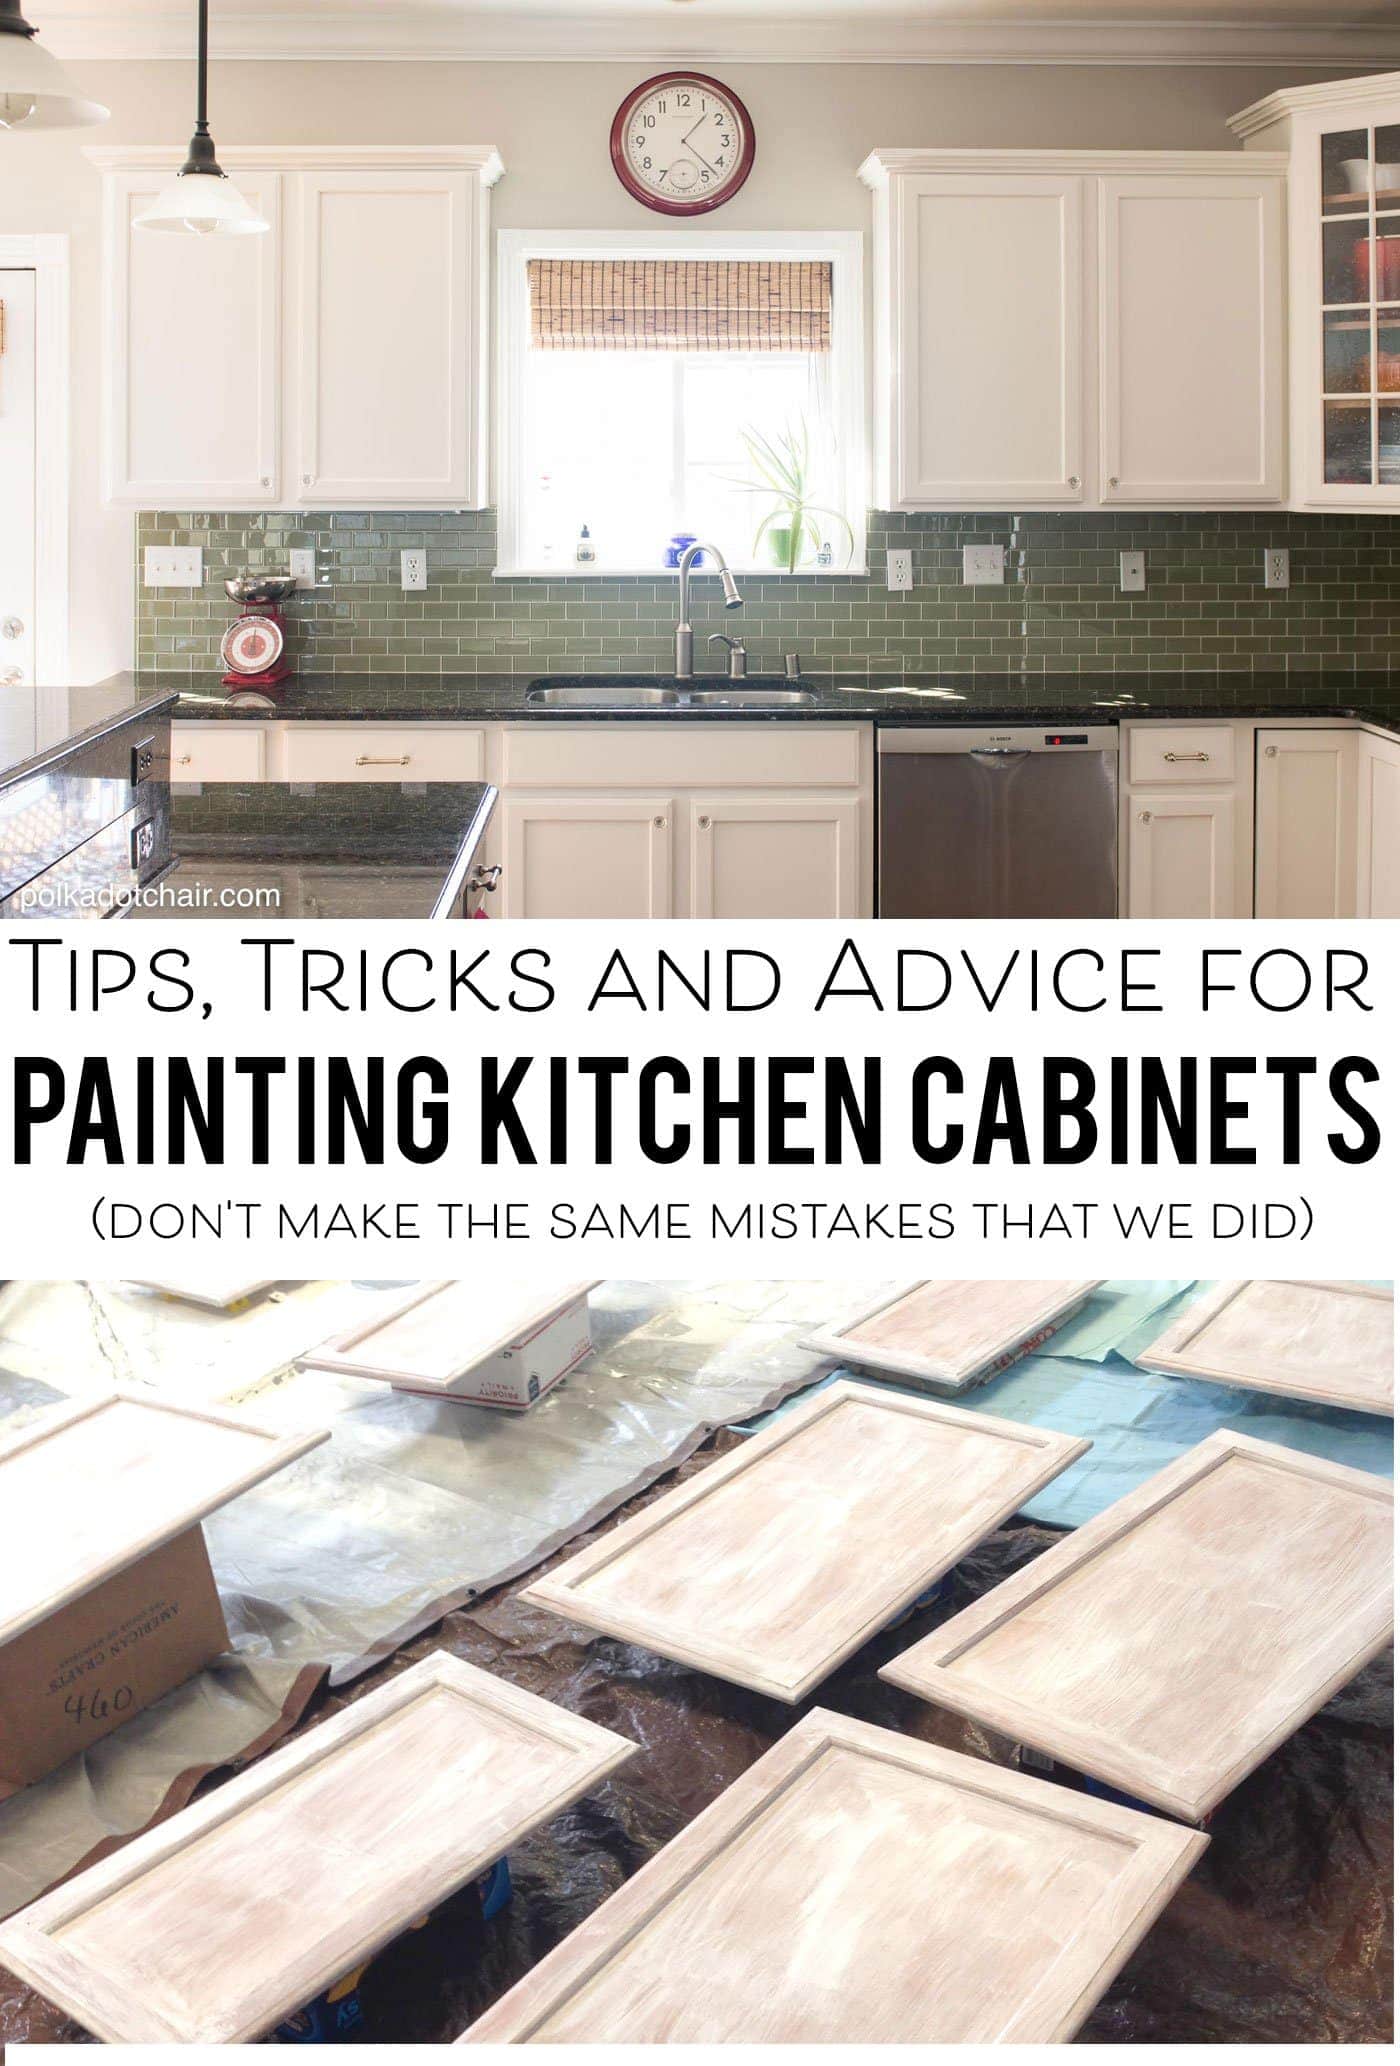
Brushes select up dust, so constantly put paint into a different container to prevent contamination of the paint in the can. If any paint is left over, put it back into the can only through a fine-mesh strainer. The strategy for prepping and painting doors, drawers, and racks is the very same as on the cabinets, other than that all the work is done on a table to reduce the opportunity of drips, runs, and sags.
Follow the same prep sequence as for cabinetsclean with deglosser, fill the holes, sand, vac, and tackand the same priming sequence: in this case, 2 coats of brushing putty. Smooth the flat surface areas on the panel and the frame with a random-orbit sander. On bevels or profiles, use effort and a medium-grit sanding sponge.
When priming or painting paneled doors, brush in the following sequence to get the best-looking surface area in the least amount of time: begin with the area around the panel, then do the main field of the panel, then finish with the stiles and rails around the edges. As you go, clean up any paint that winds up on adjacent dry surfaces. can you use chalk paint on bathroom cabinets.
After vacuuming and tacking all the surfaces, spray a fast-dry guide on any areas with spackle or bare wood where the sandpaper "burned through" the primer. Wait an hour before sanding (hand painted kitchen cabinet knobs). Eliminate all dustfirst with a vacuum, then with a tack clothand use the surface coat. Tip it off with the grain.
Vacuum and tack every piece, then brush on the last coat - giani kitchen cabinet paint. To prevent drips on outside edges, pull the brush towards them. To avoid drips in corners, initially unload the brush by scraping off the paint, then paint by pulling the brush away from the corner. If a drip laps onto a dry surface area, clean it up right away.
John Dee, a perfectionist, prefers to do one side at a time, keeping the faces flat so they do not get runs (how much to paint bathroom cabinets). But that's 48 hours of drying time per doorone day per side. Here's his technique for painting both sides in a day. Twist 2 screw hooks into holes drilled in an unnoticeable door edge (the lower edge for bottom cabinets, the upper edge for top cabinets).
3 Simple Techniques For Best Paint For website Your Next Cabinet Project - Cabinet Painters 28209 The Home Depot
Let it dry for an hour while resting flat, then tilt the door up onto its hooks and put a drywall screw into an existing hardware hole. Hold the slanted door up by the screw and paint the door's rear end. When you're done painting, choose up the door by the screw and one hook and hang both hooks on a sturdy wire clothes hanger.
Await the final coat to dry, then put back the racks. Get rid of the tape over each door's number, set up the hinges and knob, then hang it in the opening it came from. Change the drawer pulls (or even better, add new ones) and re-install each drawer in its original opening.
Welcome! Thanks for checking out. I blog about sprucing up our 1938 cottage. I post lots of budget plan friendly projects and by subscribing, you'll never ever miss a single one!Your information will * never ever * be shared or sold to a 3rd celebration. Pinky promise:-RRB- (diy painted cabinets before after).

As the majority of property owners know, changing cooking area cabinets can be a big financial investment in time and cash - dixie belle chalk paint kitchen cabinets. Possibly your cabinets are a bit outdated and dingy. Perhaps they are just too dark and you want to illuminate your kitchen area. As long as they are structurally sound and strong, there's no factor why you can't keep your cabinets and just revitalize them with a shiny brand-new coat of paint.